
Navigate the Planning Board
Your Planning board provides an overview of all bookings for your team: who is working when and on what. It also allows to quickly see when a resource is available.
The selector on the top right above the planning board allows you to choose one of the two planning modes offered by Teambook:
- the standard Users view, which displays users in sequence, and described in more detail below.
- the Grouped view, which groups users by project (and enabling the creation and visualization of project milestones). It is described on a separate article (Grouped view),
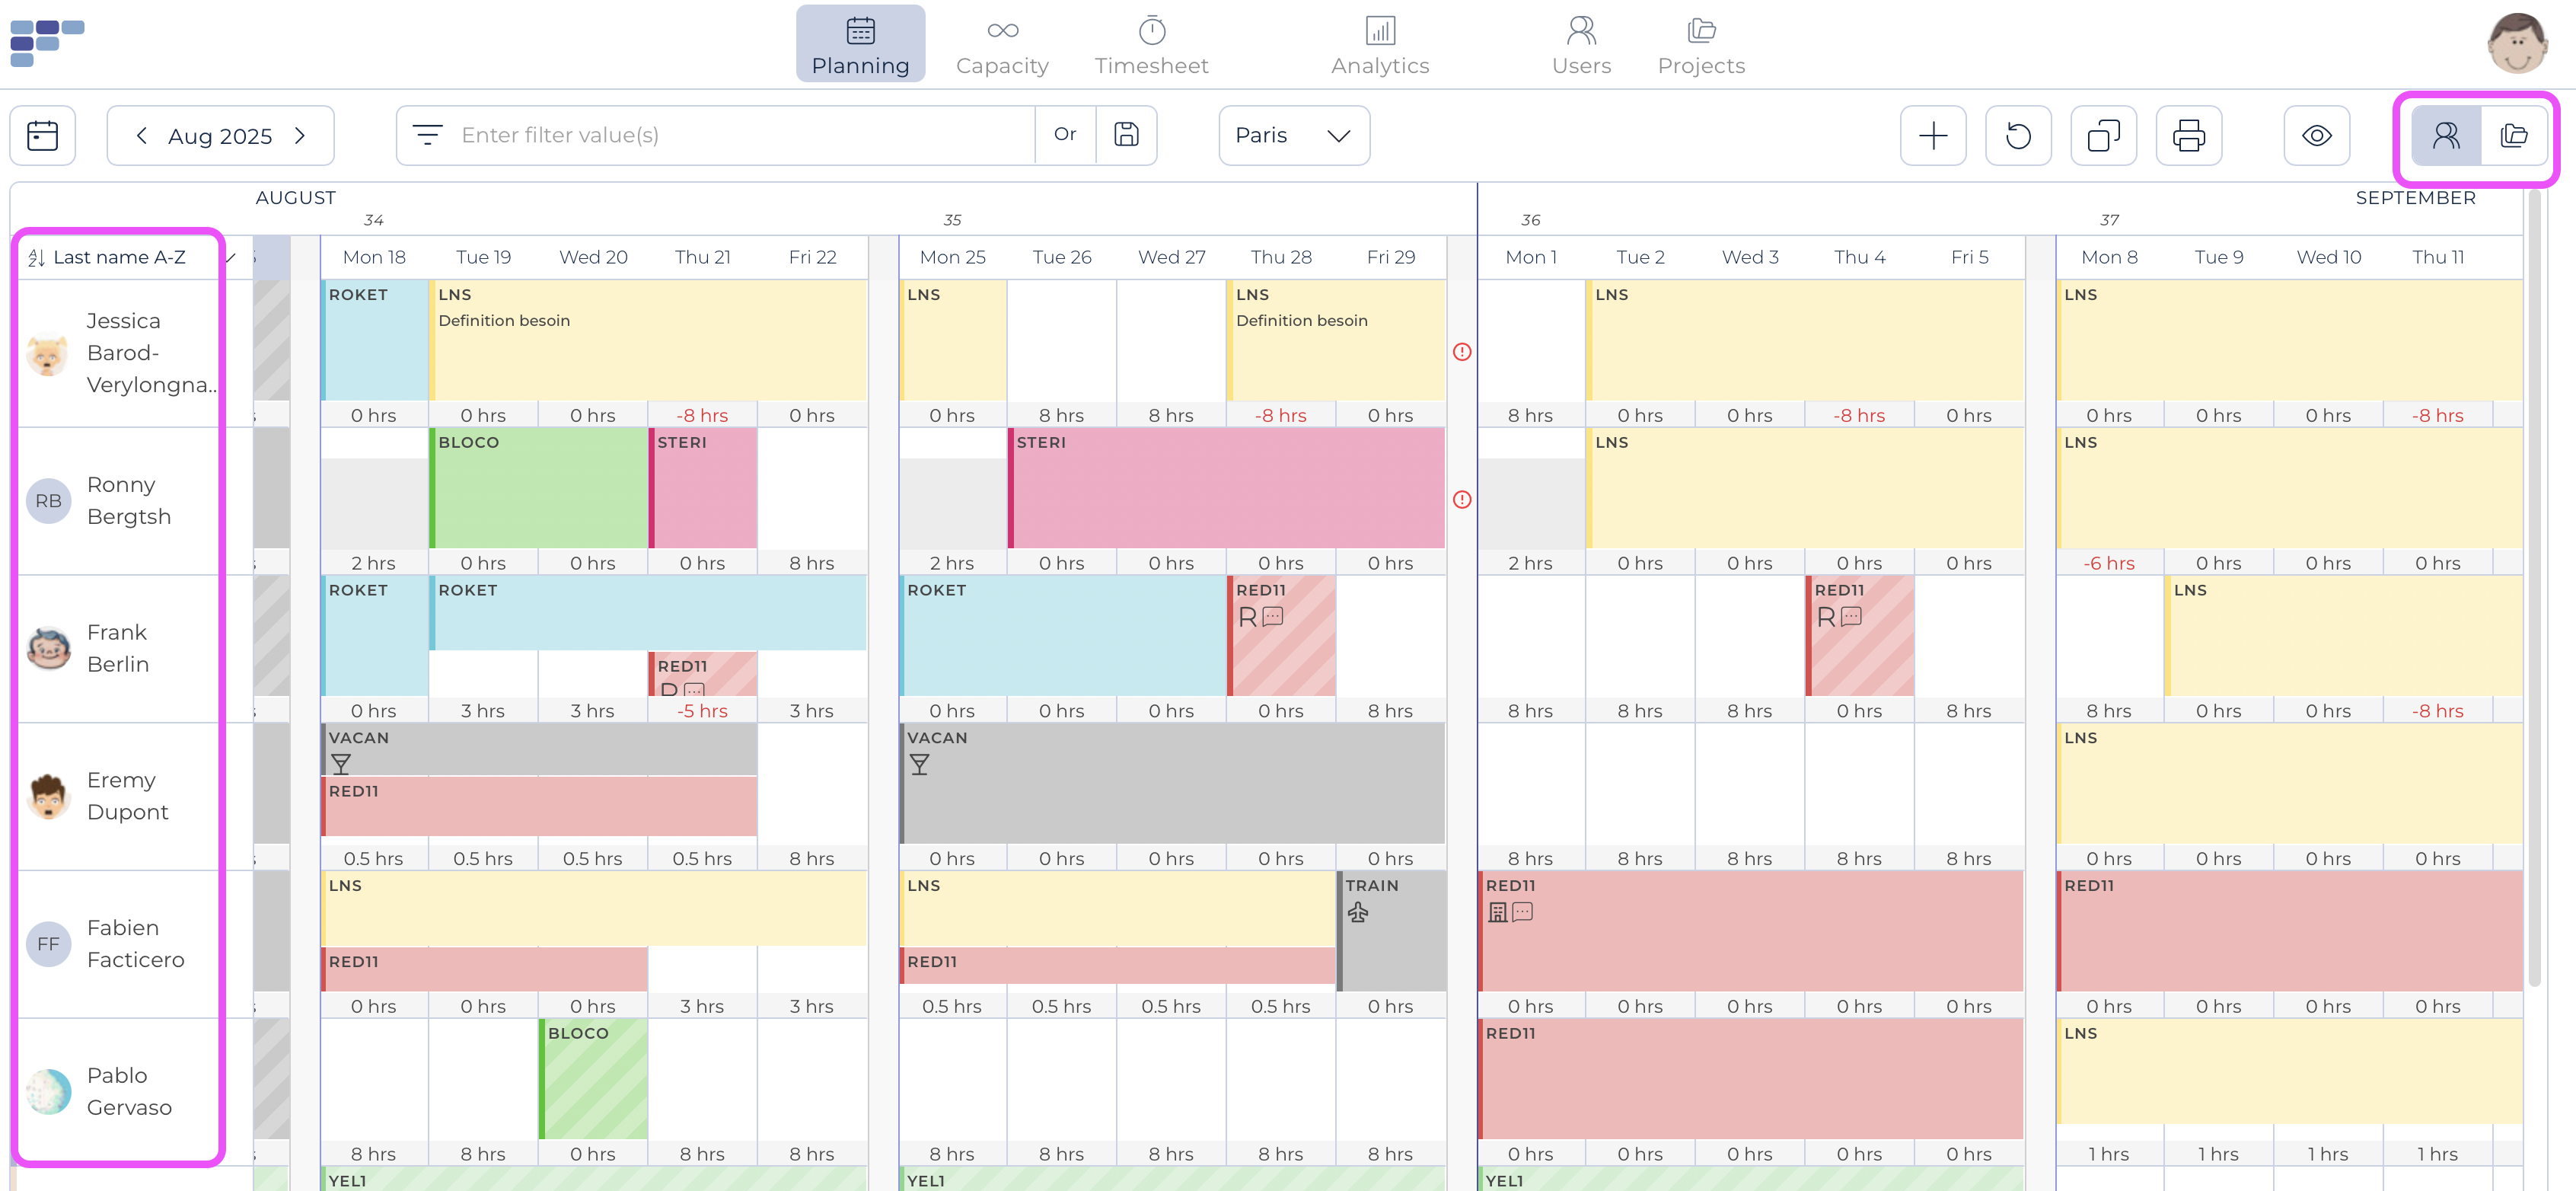
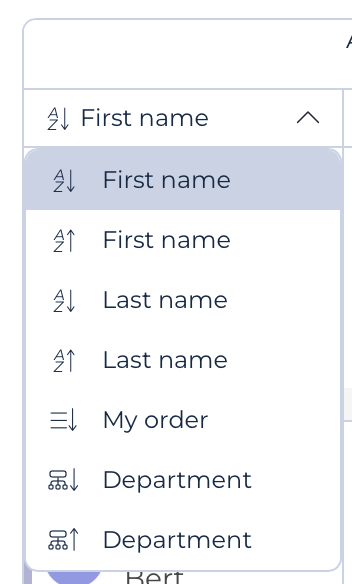
The selector on top of the user's column allows you to sort by different criterias (alphabetically on first or last name and and by department)
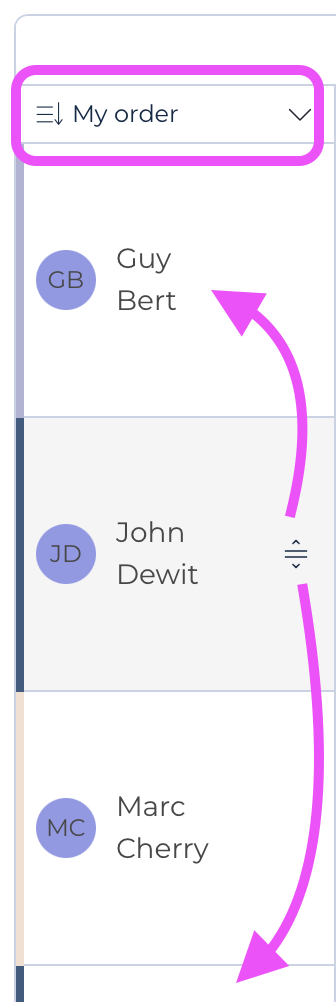
When choosing the "My order" sorting mode, you can drag the users in the order you want. This "personal order" can be recalled at any time by clicking on the "my order" icon.
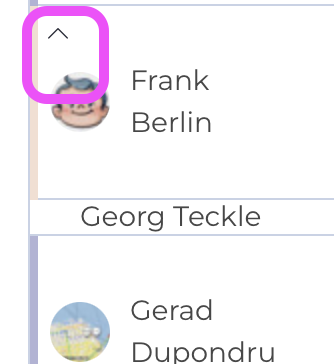
Note that you can choose to hide a specific user's plans by clicking the "Collapse" icon in the top left corner.
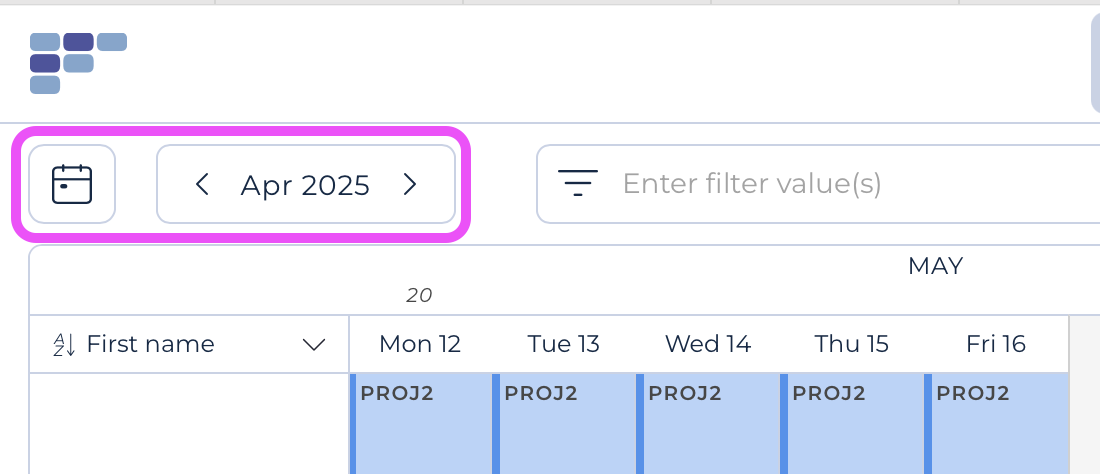
To navigate within the Planning screen, you may use the arrows located next to the date picker, pick a specific date in the date picker or, to come back to the current day, simply click Today.
Mac users can also use their trackpad and all desktop users can use the arrow keys on their keyboard to navigate across time (infinite scrolling!).
Some intuitive icons on the secondary menu help the planner focus on his/her tasks:

- Team Selector: if your company uses multiple teams, this selector appears and allows you to switch to any other team;
- Then the second group of icons relates to frequent planner's actions:
- Add user: by clicking on the + button;
- Revert action: clicking this icon will revert the last performed action. You may click up to 3 time on the icon, so to reverse the 3 last actions;
- Copy booking: you may choose one or several bookings by marking them. The booking(s) and all information will be automatically copied;
- Print option to print (or export as pdf file) a monthly view of your planning.
- Finally, the "eye icon" allows you to set the desired visual settings on your planner screen:
- Hide Week-end: ON means that booking are possible on the week-end days (these days are highlighted with a grey background); if OFF is set, it is NOT possible to create booking during the week-end days (but if a booking had been created previously when the settings was ON, it will appear as a red exclamation point).
- Disable Tool tip: ON means that a tool tip appears when you hoover over the booking (the tool tip shows the booking details like project long name, notes..)
- Hide other users: when activated, the planner shows exclusively your user
- Cells Size: this parameter steers the size of the user's booking lines. While the larger setting allows to comfortably show the user's avatar and booking details, smaller settings will fit more users on the planner page
- Planner Zoom: offers you a choice of 4 different view: hours, days, weeks and months, giving you thus a dynamic timeline with past, present and future bookings.
