
First Steps in Teambook
Creating a Teambook account will first have taken you to a welcome modal, which you may have filled in .... or skipped.
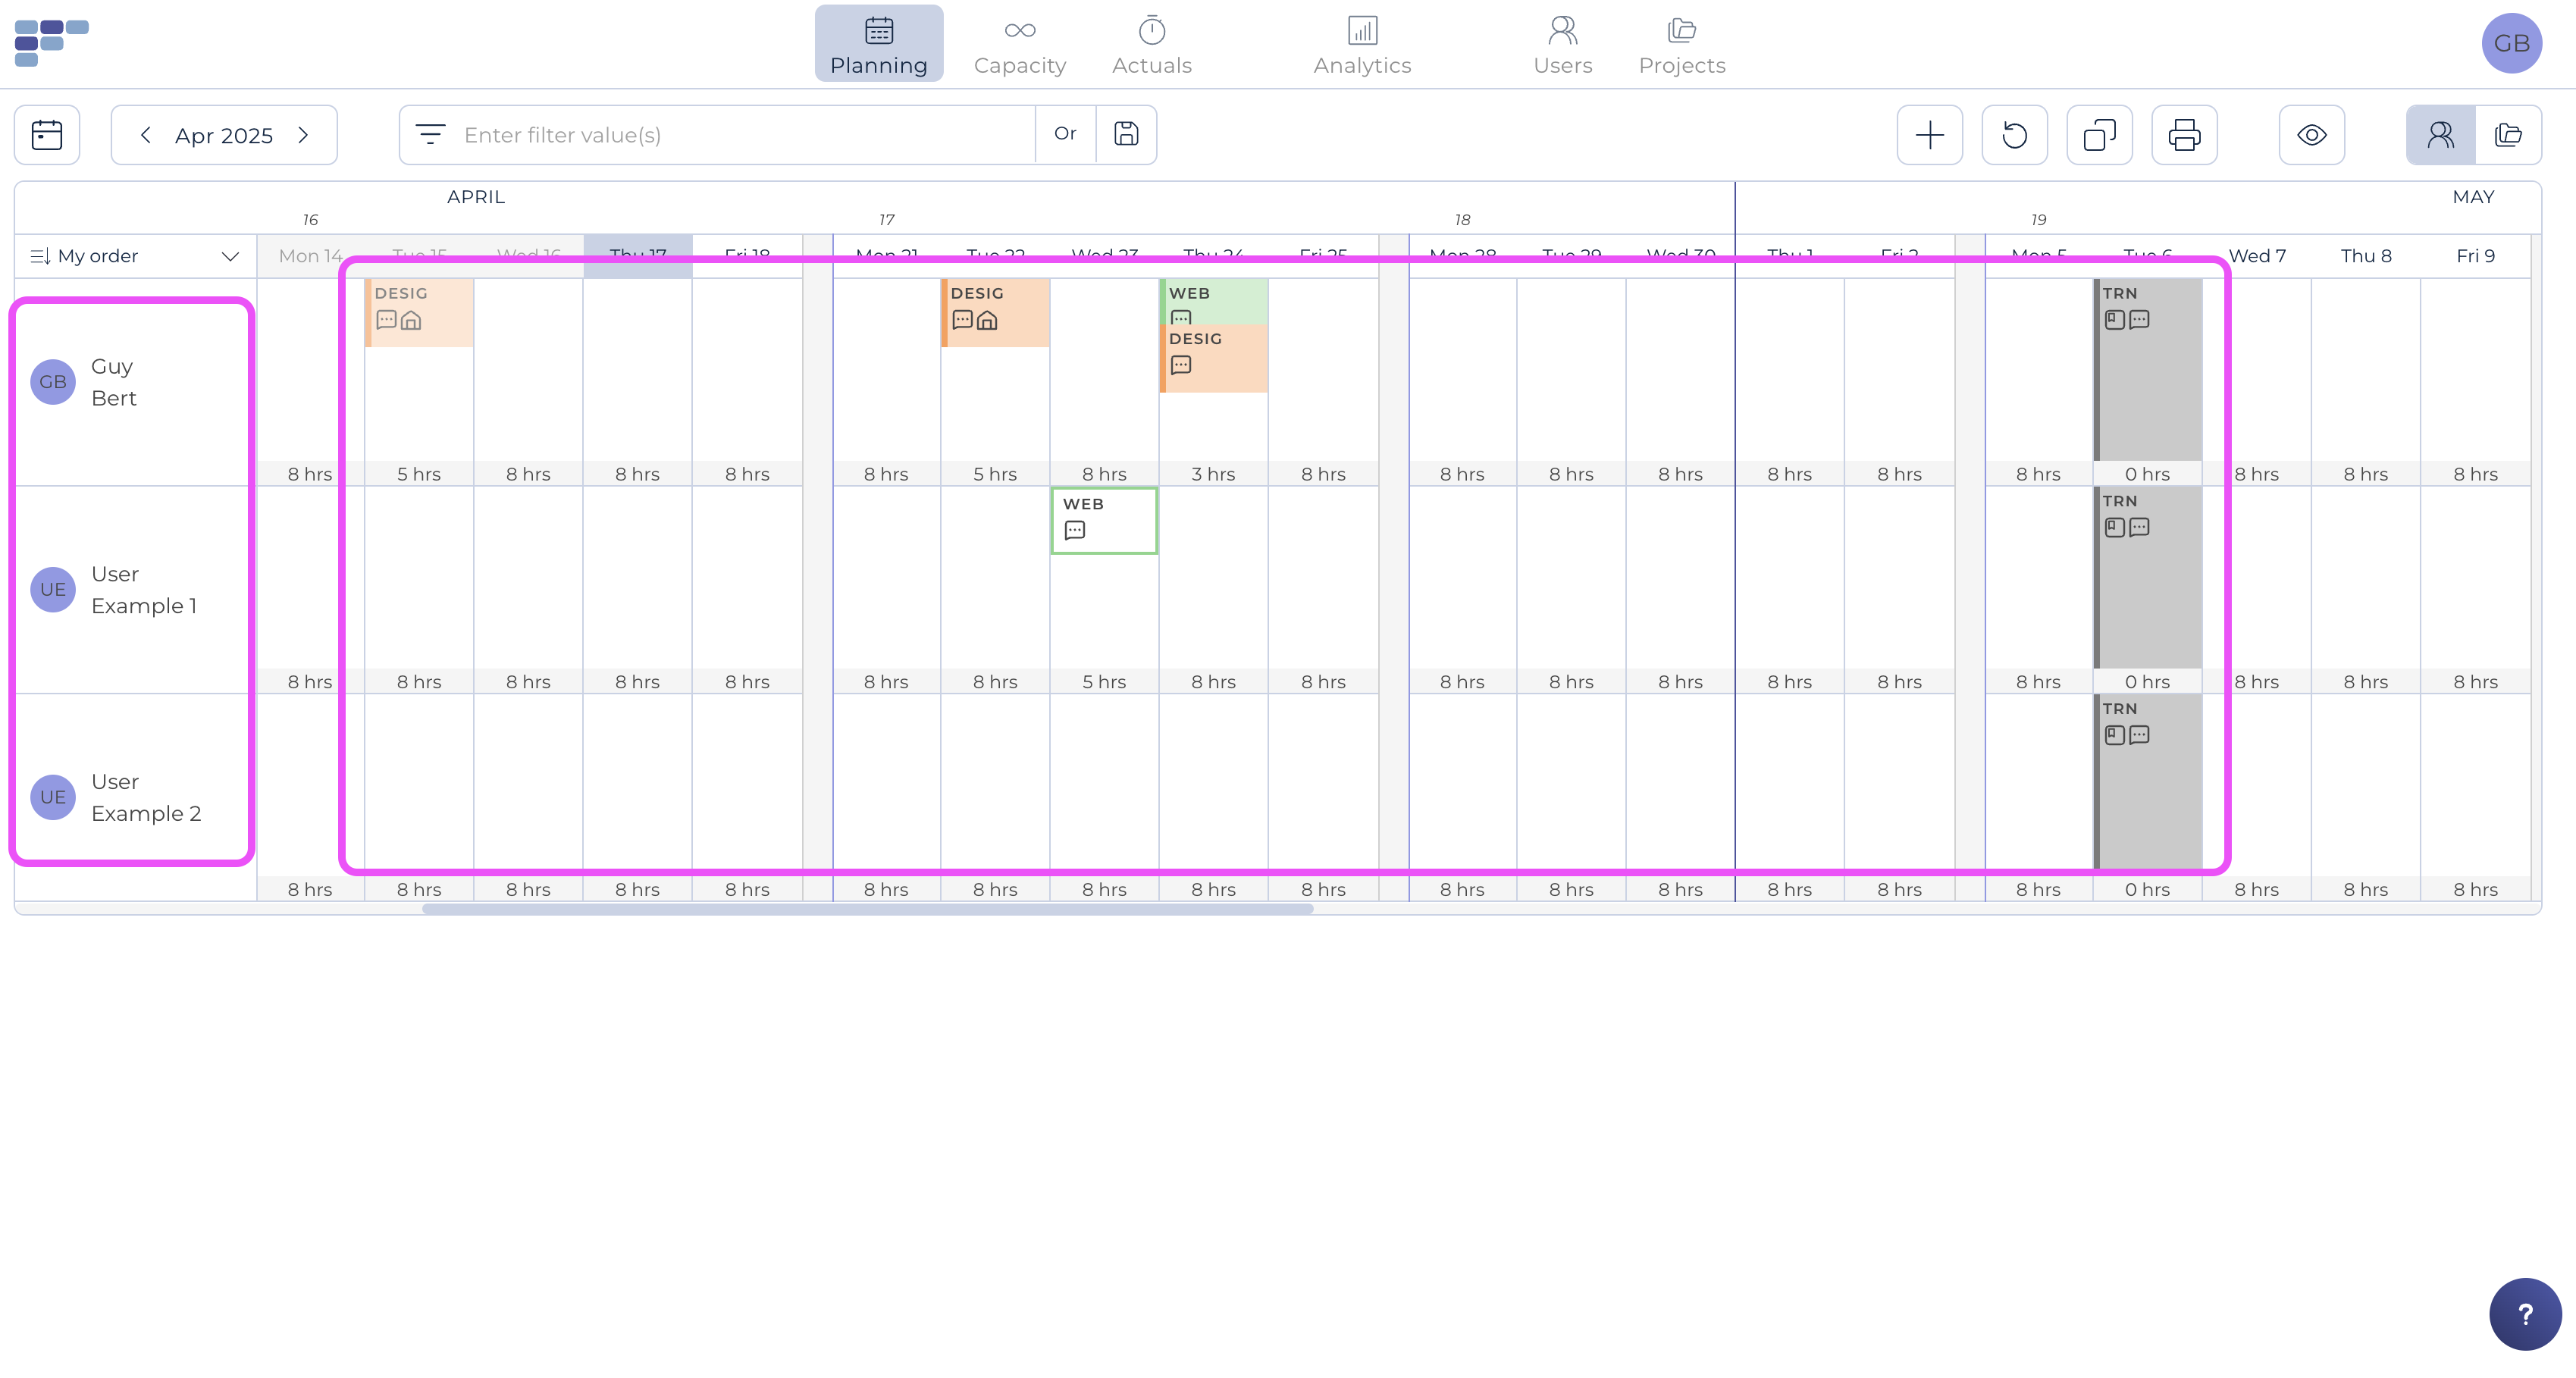
The initial screens are pre-filled with some TEST data, based on the projects & users information you may have filled out in the Welcome modal (if you did not, the data is simply called "example user 1", "example project 2", etc...).
We just created these TEST data with some little hints to help you understand what Teambook is all about ;-) ! You can edit, rename or archive them as you like!
By way of example, here's the home screen of the Planning module (those of the Capacity and/or Actuals modules will of course be different):
Your first steps in Teambook will probably consist of
- Creating your own users: the easiest way is to simply edit the 2 sample users and enter "real information" that fits your organization. You can also create a few more colleagues.
- Create your currently active projects: again, the easiest way is to edit the 2 example projects and replace them with "real information" that fits your organization.
- Then... start working (i.e... enter your team planning and/or manage your mid-term capacity and/or enter & approve actual timesheets) To do so, simply click on the desired module!

For some more hints, please visit Teambook's presentation video:
And you will find relevant help in this KB. If needed, don't hesitate to contact us at support@teambookapp.com
We look forward to your feedback!