Note: the article below refers to the creation of single users (one by one). Note that Teambook offers a feature to mass upload users via an import file, see instructions.
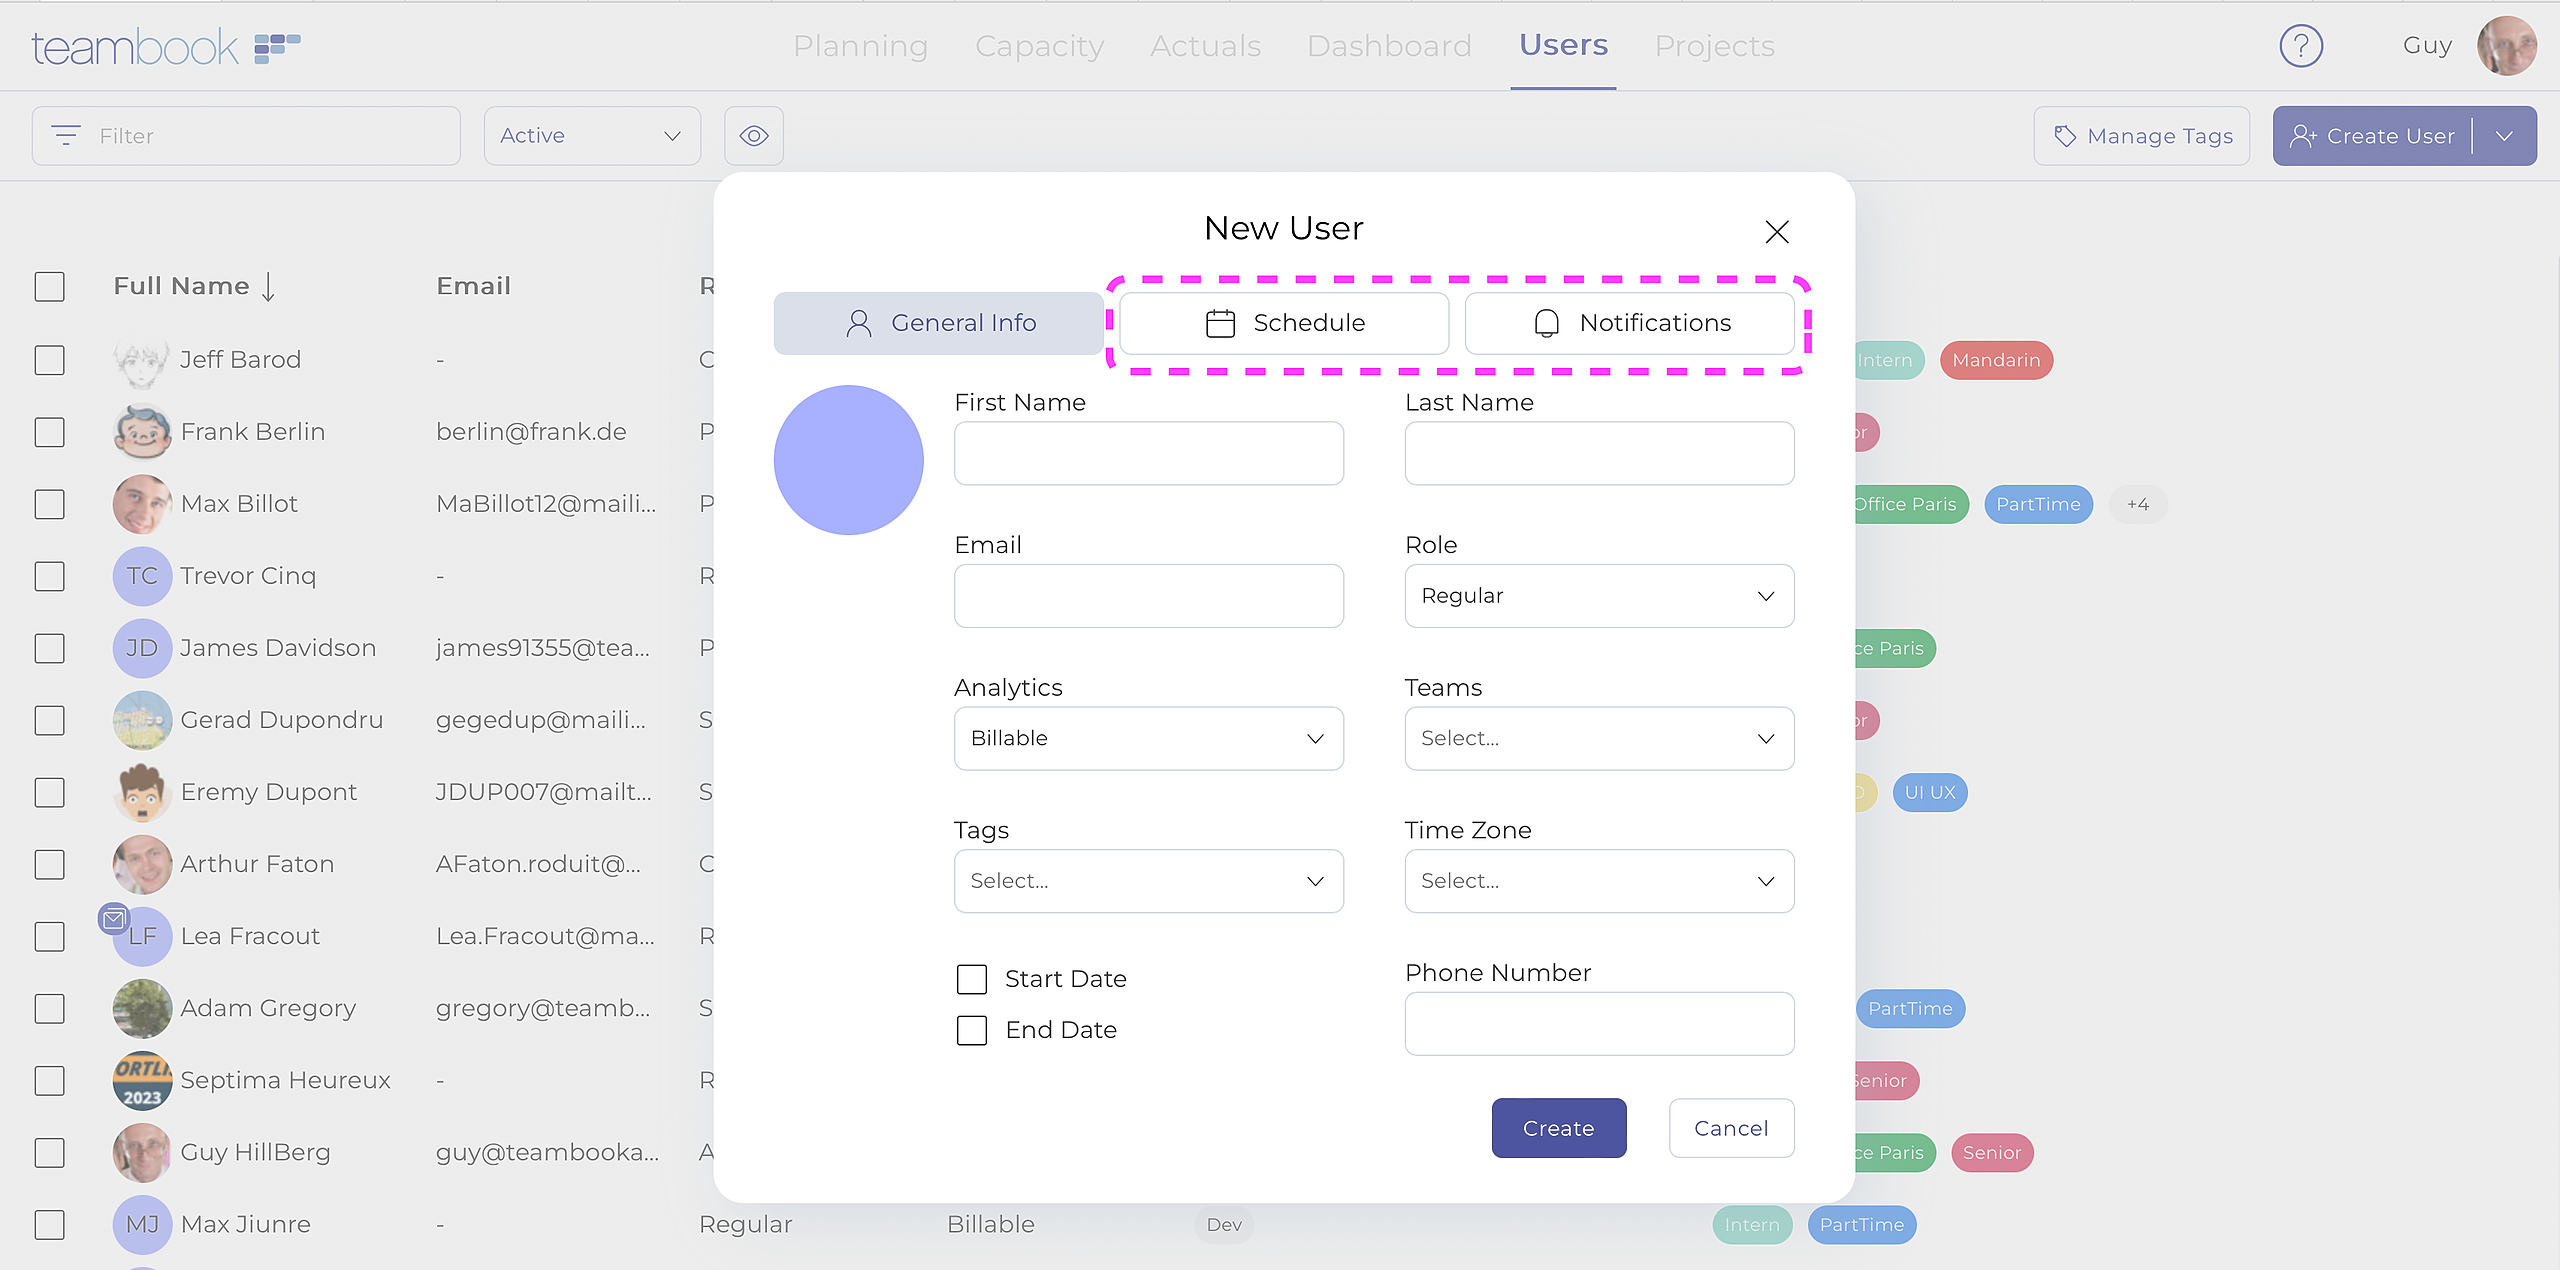
- In the Users section, click on Create User. A modal window appears, in which you have to enter information.
- Enter the new user's First and Last Name
- Optional: Enter the user's email address. An invitation email will be sent to this address and the user will carry an "invited" tag until s/he activates this invitation mail. Note: The email address must be unique for every user on the account.
- Choose the appropriate Time Zone. If no time zone is selected, the default time zone defined in the Organization Settings by the Account Owner is defined for the new user.
- Billable: by default, all users are set as "billable". Users that are not billable (e.g. Sales people) should be set as non-billable so not not impact the Productivity and Utilization metrics.
- Choose the role.
- Optional: assign the applicable tags
- Optional: assign the team(s) to which the user is assigned
- Optional: define Start and/or End dates. The planner will show greyed-out cells for the period outside these dates.
- Optional: click on the Schedule tab to enter user-specific schedule
- Optional: click on the Notification tab to enter email notification
- Click Save Changes.
Provided that an email has been stored in the newly created user, s/he will receive an invitation to let them know how to sign in to Teambook and create their password.